
We all are surrounded by the data in this digital age. In our day-to-day lives, we encounter many situations where we deal with documents, photos, videos, and other files. These all become an integral part of our life. But what if your data is lost or erased permanently? If you know How To Clone A Hard Drive then it will become easy to secure your data, but if you don’t know then it will be a problem. But we have a solution for you to better manage your data and keep it safe permanently. This article will take you through the step-by-step process of cloning your hard drive to keep your data safe.
Understanding the Concept of Cloning Hard Drive
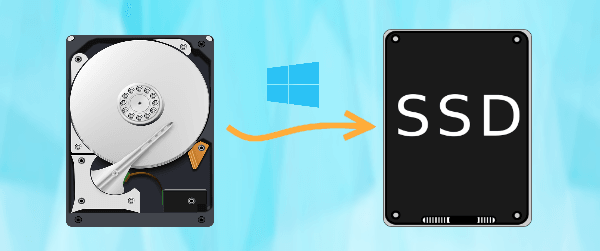
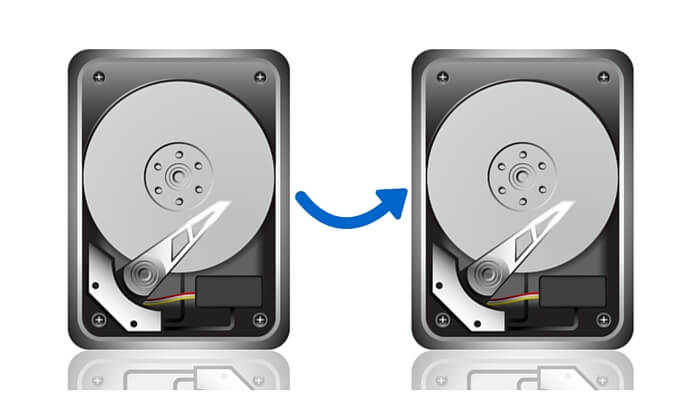
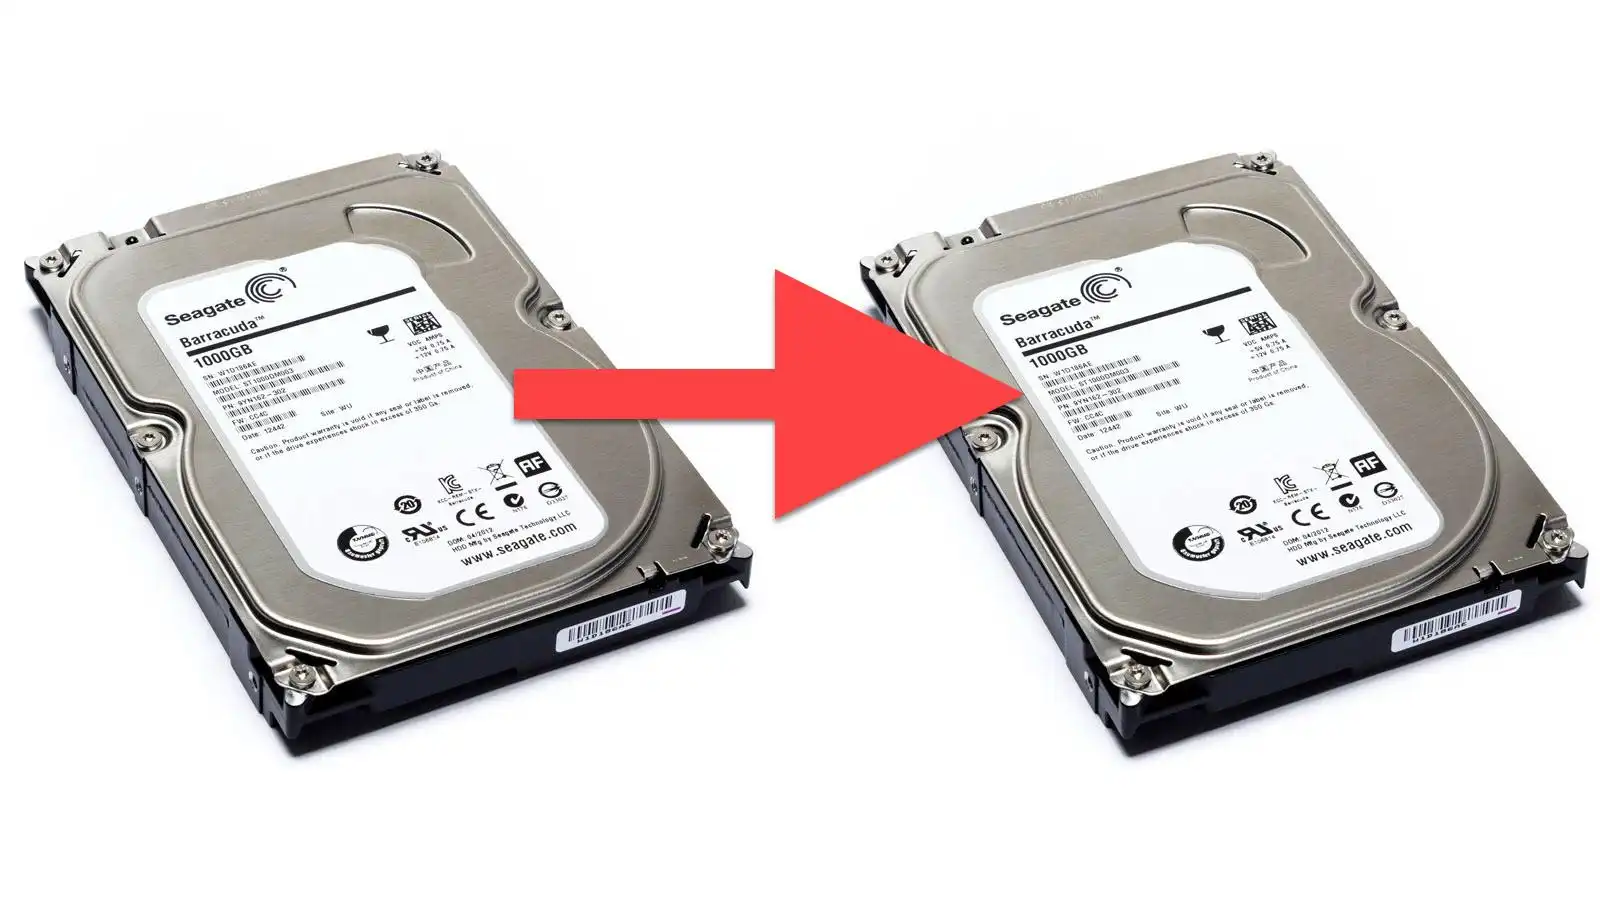
Cloning simply means making a replica of your current data from one storage device to another. Cloning a hard drive means the procedure of making duplicate data from one storage device to another. Cloning is useful when you are upgrading to a new drive shifting to a faster SSD, or simply want to save all your previous data from losing.
It is different from traditional backups because it not only copies the file but also clones the complete system configuration including all the installed applications and the operating system as well. This helps you in getting all the installed data on your new system without struggling to reinstall them again to your system. If you don’t know How To Clone A Hard Drive, then this article will help you with this.
How To Clone A Hard Drive: Easy Steps to Follow
Cloning a hard drive is an easy method that requires no prior knowledge or technical skills. The only thing you have to do is to follow these instructions and you are all good to go –
Step 1: Gather the Essential Tools
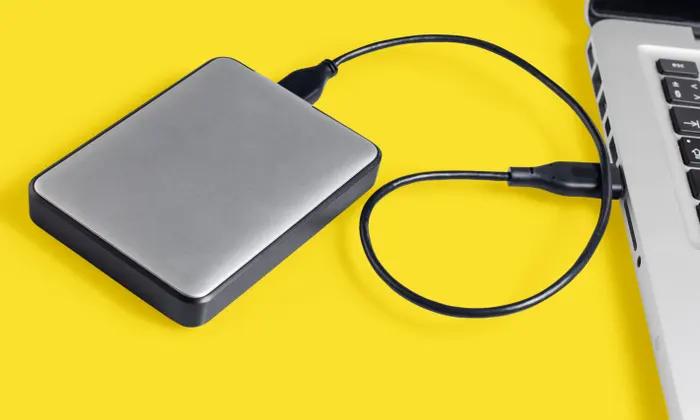
You need to first identify the drive that has the data that you want to clone. Check it first to ensure that it is in working condition. Now, you will need a new drive that has sufficient storage for your data. Also, you will need cloning software to install in your system to operate all the functions smoothly. You can choose beet “Clonezilla or Macrium Reflect” according to your choice. Carry a USB cable and adapters if you are physically connecting the drives to your computer.
Step 2: Make a Back-up of Your Data
The next step is to make a backup of your important data and information. Segregate the data such as important documents, photos, and other personal files to back up. Use backup software and create a copy of your data with the help of an external hard drive. Once the data is backed up, check to ensure that all the crucial files are accessible to you. Now, store the backup data in a secure location.
Step 3: It’s Time to Connect the Drives
In this step, you have to prepare your workspace to connect the drives. Make sure to switch off the computer to prevent yourself from any shock or data corruption. You have to open the computer case if you are using an internal hard drive. Identify the SATA ports on your computer’s motherboard, where you can connect your drives. Use SATA cables to effectively connect the drives from source to destination points. Also, connect the power cables from your devices to supply the power to both drives.
If you are someone who is using the adapters, then you have to plug the adapters into the USB ports of your device. You can connect the external device via USB E-SATA or Thunderbolt ports. Give a quick check that all the connections are done.
Step 4: Select A Cloning Software
Here are the crucial steps of How To Clone A Hard Drive, this involves installing a cloning software that matches your operating system. Locate this installed software on your computer device and open it. When you open it, search for the clone option generally labeled as “Disk Clone” or “Clone Disk”. Once you find it, make sure to specify the destination drive and the source drive. You can get some configuration checks based on your software choice.
Step 5: Start Cloning A Hard Drive
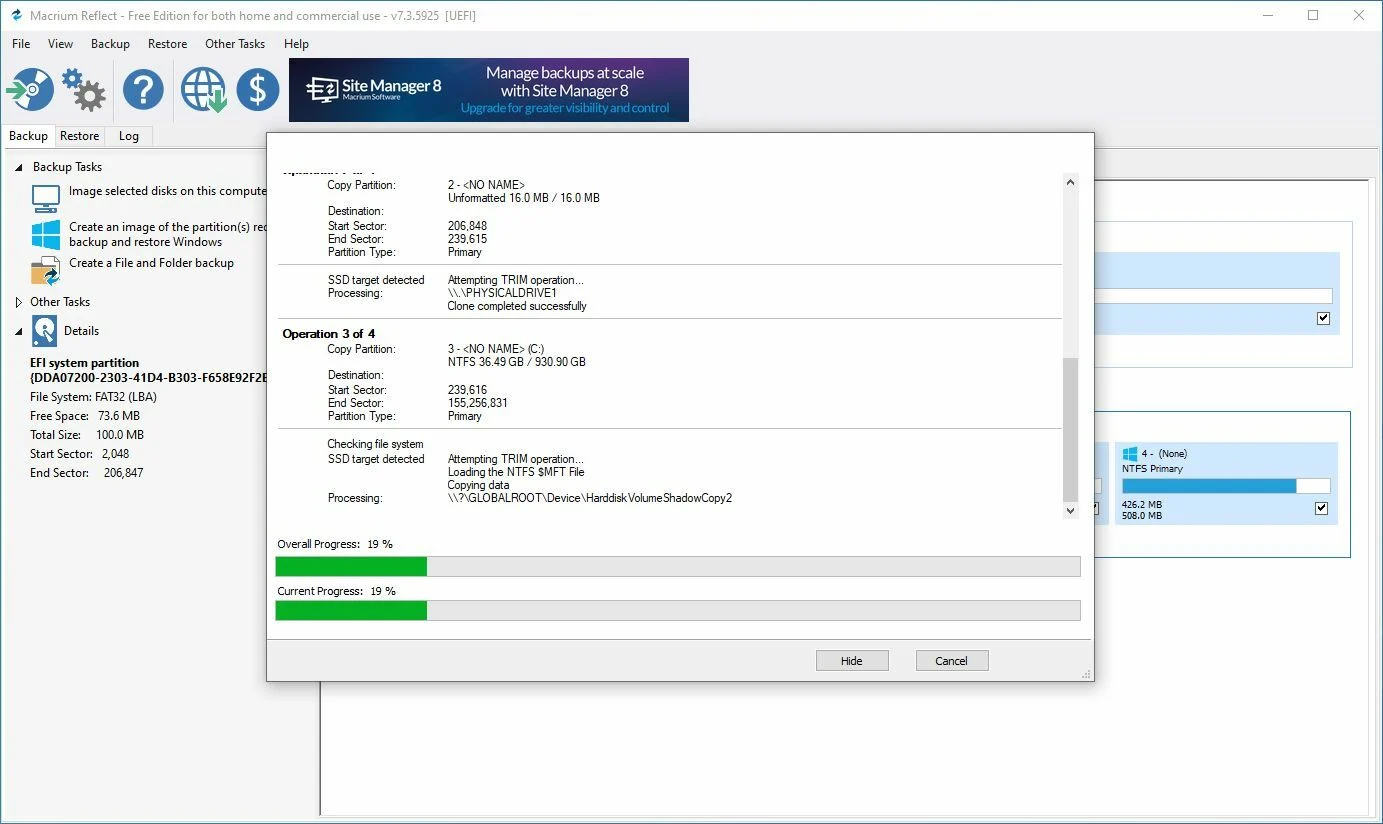
Once you have finished all the previous steps, you are ready to clone a hard drive. You will find a Clone or Start button in the software. You can click it to start cloning the drive. You can get a confirmation one more time before you proceed further with the process. Once you give the go-ahead with this, the cloning process will start. You can monitor the updates and progress of the process till the cloning process is completed.
Step 6: Completion of the Process
Once the cloning process is completed, safely remove the destination drive from the computer to prevent any data corruption. Verify the data in the destination drive to confirm if it cloned properly or not and if the data and files are accessible to you.
What to Do Post-Cloning a Hard Drive?
Once you successfully cloned a hard drive, it becomes crucial to do a post-cloning clean-up to your device. Once you get the data into the destination drive, decide whether you want to keep the same data in the source drive or erase it. You can take support of data wiping software to secure your sensitive information.
Conclusion
In the end, we can say that learning How To Clone A Hard Drive is a valuable skill that can support you to secure your data and upgrade your storage capacity. These easy steps make you capable of performing the clone process without techies support. It is also useful for all from IT professionals to home users to make their data secure, accessible, and private. Cloning a hard drive will give you ease to run a smooth function on your computer device.
Kriti Sharma, a seasoned content writer, my passion for words fuels my writing journey. Armed with a knack for storytelling, I thrive in crafting engaging, informative, and persuasive content. My expertise spans various niches, from technology and business to travel and wellness. I bring versatility to the table, adapting my tone and style to suit each project’s unique needs. Whether it’s an insightful blog post, a compelling marketing copy, or an in-depth research article, my commitment to quality and authenticity shines through. Join on a literary adventure as we explore the power of words together.


")
